How To Add Schema Markup To WordPress And Get Rich Snippets
<!-- end AD tag -->
18th April, 2018 BY Naveed Zulfiqar
Most bloggers do everything possible to make their content rank higher in Google. That’s a good thing and you should always strive to increase your site’s Google rankings.
But it’s not just about where you rank, it is also about how many people click on your site in the search results.
While most people are going to click on the first result, you can improve your chances of getting clicks by adding schema markup to your content.
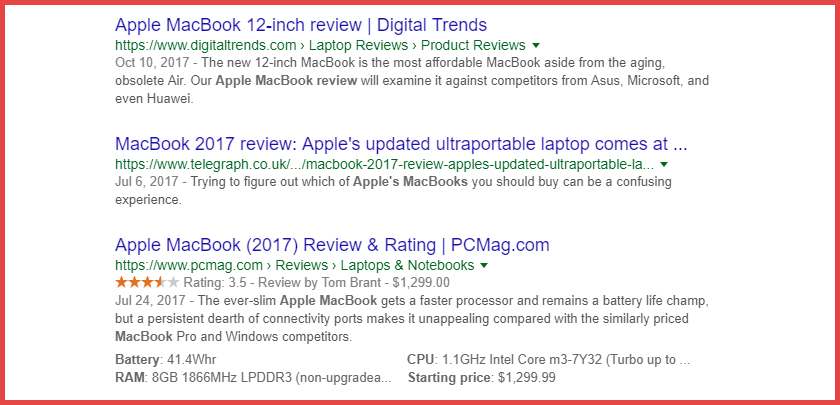
For example, which of these search results is more attractive to you?
Most people would say the third one, even though it ranks lower than the other two!
To help you get the same type of eye-catching search results, you need the schema markup. And in this post, I’m going to show you exactly how to add schema markup to WordPress.
What Exactly Is Schema Markup?
Schema markup is a specific type of structured data that all of the popular search engines have agreed to use.
It goes directly in your site’s code, so your human visitors will never see your schema markup on the front-end of your site. But search engines can read the code to learn more about your website.
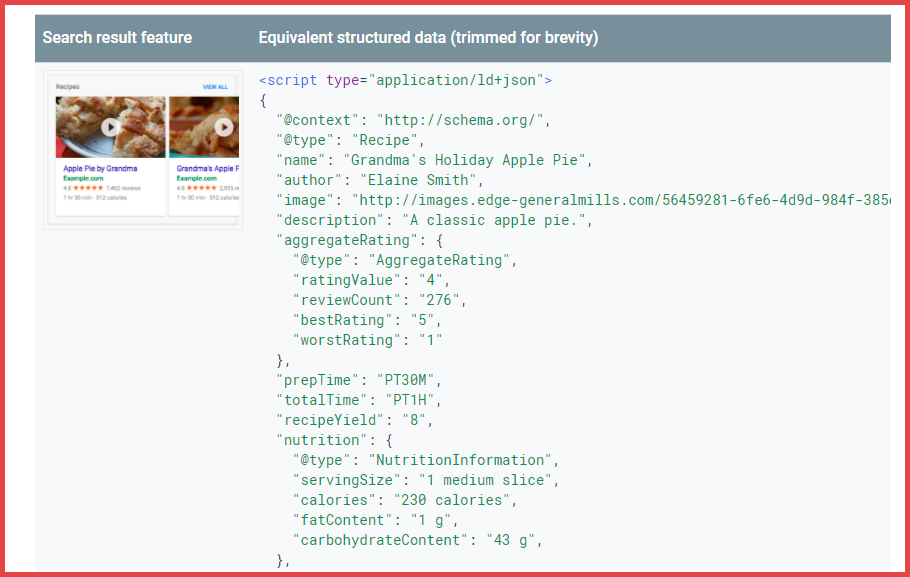
You can see an example of how schema markup looks below:
The purpose of schema markup is to add context to your website’s content. For example, it lets you tell Google that a specific number is your review rating for a product, rather than just a random number.
Then, Google can use this extra context to give you something called rich results (formerly known as rich snippets).
When you use structured data to mark up content, you help Google better understand its context for display in Search, and you achieve better distribution of your content to users from Search
Does Schema Markup Help You Rank Higher In Google?
There is no data to suggest that schema markup will actually improve your rankings.
Yoast SEO, as well as most other SEO plugins, makes it easy to add basic schema markup to your site.
Specifically, Yoast SEO helps you add these four basic types of schema markup:
Basic organization data
Breadcrumbs
Social profiles
Homepage for search
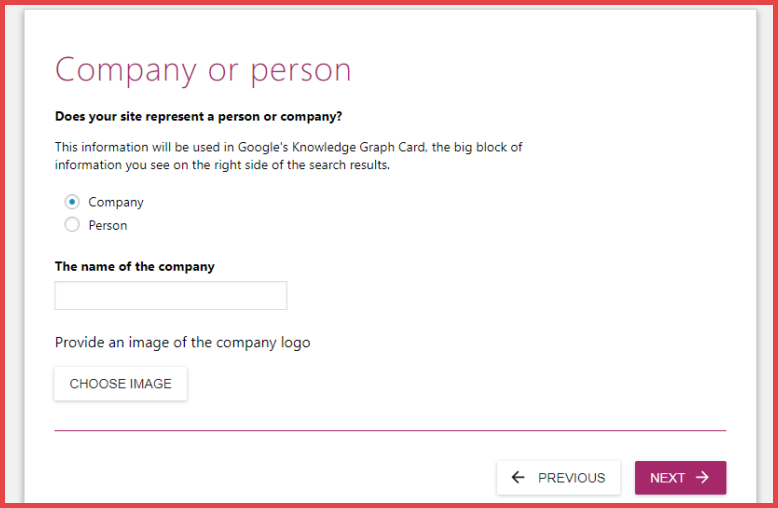
If you use the Yoast SEO configuration wizard, you should have already filled out this information:
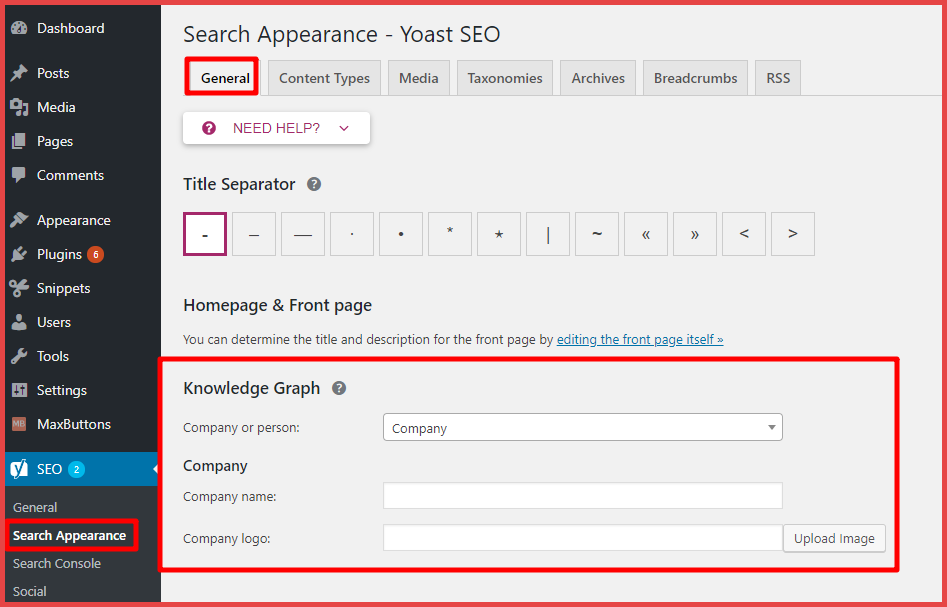
But you can also access its settings by going to SEO → Search Appearance → General:
This schema markup helps Google display your website in its Knowledge Graph, and it can also get you breadcrumbs in Google’s organic search results.
It’s not complete, though. Also, certain types of sites need additional schema markup…
How To Get Star Rating Rich Snippets For Product Reviews
A lot of us review products to generate traffic (and often affiliate commissions).
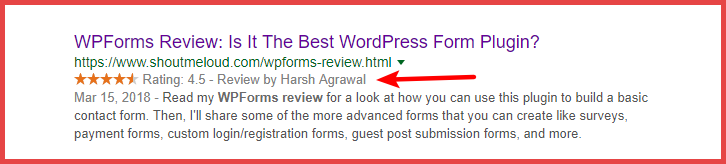
If you write these types of reviews, it’s very easy to enhance your site’s display by adding star ratings and the reviewer’s name. You can see an example of this for ShoutMeLoud below:
This type of schema markup is surprisingly easy to add – all you need is a review plugin.
I use one called Author hReview here at ShoutMeLoud. However, the product seems to be phasing out and is no more a reliable solution. This is something you should not be using and I will also be shifting to one of the other solutions that I have listed below.
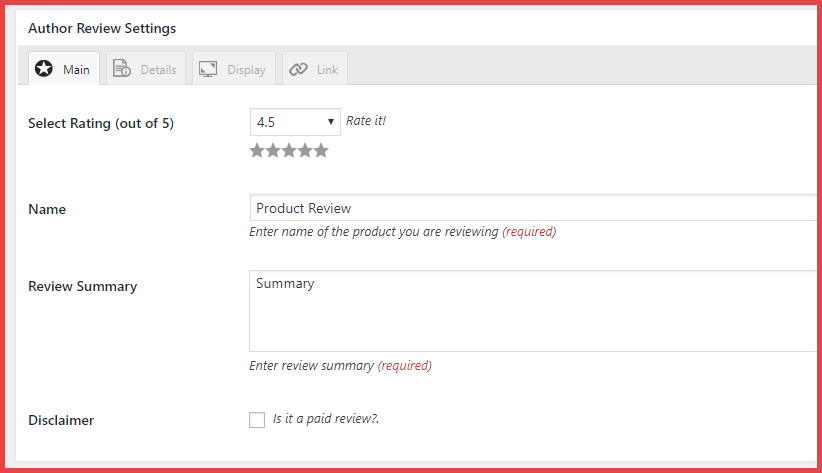
However, for the better understanding let me show you how Author hReview plugin works:
All I need to do is fill out some basic information in the WordPress editor:
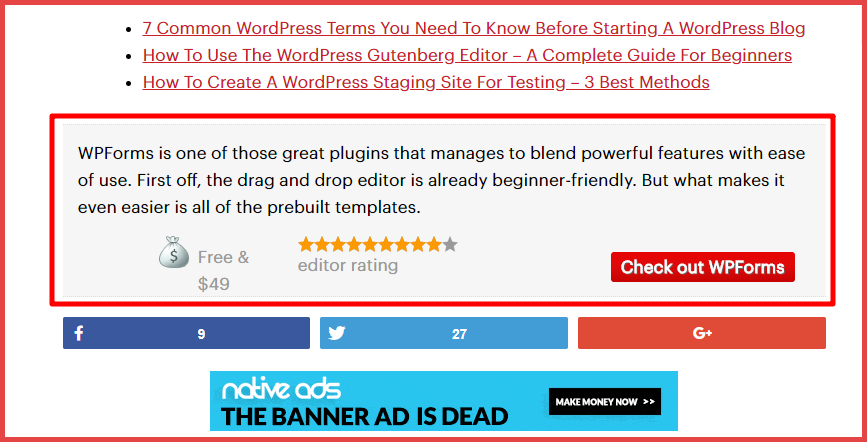
Then, the plugin adds this small review summary box with the proper schema markup:
And once Google sees that box, it has all the information it needs to give your review those star-ratings!
There are also plenty of other plugins that can do something similar. Two good ones are:
These plugins are from the same developer but go about adding schema markup in different ways.
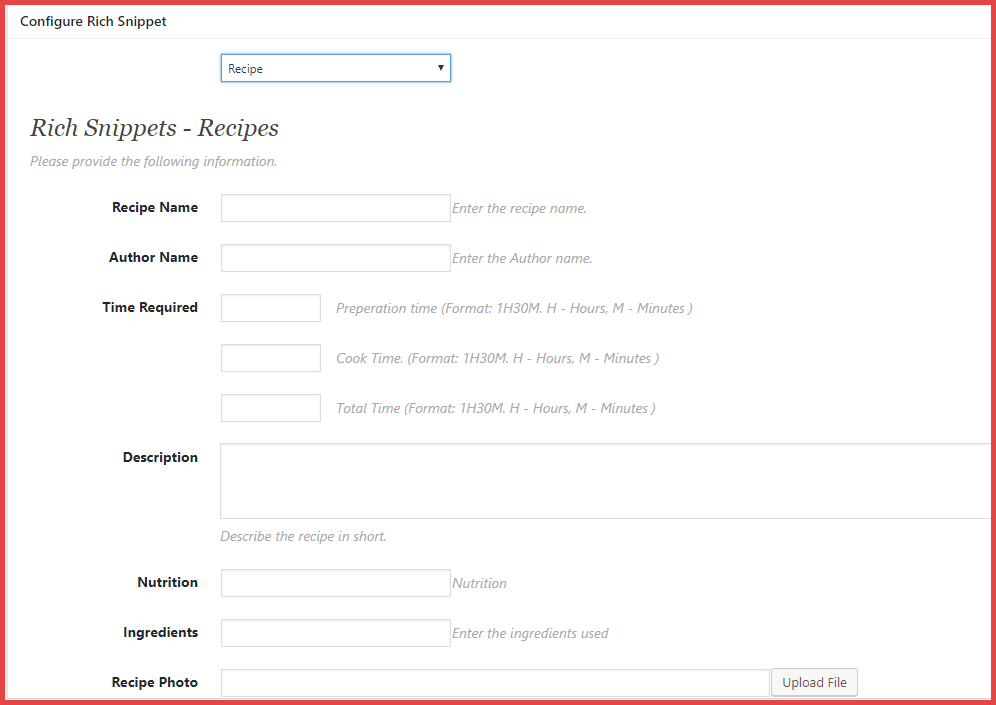
The All In One Schema Rich Snippets lets you add a content box to your site with proper schema markup, just like the review example I showed you above. For example, you can add new content to your post for recipe data:
The All In One Schema interfaceThe recipe data that you add in this box will appear in your post according to the plugin’s settings.
Schema Pro, on the other hand, works behind the scenes. Instead of using it to add new content, you just map it to your existing content using a simple, code-free interface. The benefit is that humans won’t ever see anything beyond your normal post content.
Which is better? Well, it depends:
Schema Pro is good if you’re already using a separate plugin for events, recipes, etc. and just want to add schema markup to that plugin’s existing output.
All In One Schema Rich Snippets will still get you the same rich results, you’ll just need to display its content in your post, which may or not be something that you want to do.
The Schema Pro interface
Final Thoughts On How To Add Schema Markup To WordPress
If you’re just writing regular blog posts, you probably don’t need a dedicated plugin. Just make sure to fill out the basic schema markup in Yoast SEO to take advantage of organization markup, as well as breadcrumbs and sitelinks.
If you write any type of reviews though, you should definitely consider one of the review plugins to get star-ratings in Google’s search results.
And if you’re publishing content like recipes, events, products, etc. then you should definitely get one of the specialized schema markup plugins to take advantage of the rich results for those content types.
Do you have any other questions about adding schema markup to your WordPress blog? Leave me a comment and I will try to help.
Here is another write up you may be interested in:
3 Best Solution For Blog Posts Interlinking in WordPress
naveed zulfiqar
Interlinking of the blog post is one important parameter of on page SEO. It improves the contextual score of your blog & helps in ranking higher in the search engine. I have seen many bloggers relies mostly on related posts section for interlinking and this is not the best solution. To make your On Page SEO and On site SEO strong, you should have proper internal linking between your blog posts.
In WordPress, there are various ways to interlink your blog posts, and in this guide I will share all the best available methods that you can use right away. Most of the solutions listed below are free and only one of them is paid, which I personally use for all my blogs.
Before I share WordPress interlinking solutions, let me quickly share what are the direct benefits of interlinking your articles:
Crawling & Deep-Indexing: Interlinking helps search engine bots to crawl and index your articles effectively.
Bounce rate and more page views: Right interlinking helps to reduce the bounce rate by a great extent. The only key here is, your linking should be relevant.
Passes link Juice: It passes link juice from one page to another. This is one reason, I highly recommend to link from your old articles to a new one.
On page SEO benefit: Interlinking also helps in On-page SEO.
Now, let’s look at all the available solution for WordPress bloggers to interlink their blog posts like a pro.
This plugin is for automatic interlinking of blog articles. It automatically links your taxonomies (Tags and categories) and you can set your own rules for automatic interlinking. For example, you can set words like “Make money online” should link to any specific blog post, it will automatically interlink old and future posts containing word “Make money online” with your specific link.
Like this, you can have unlimited linking and especially for blogs with huge content, this plugin is a time-saver. The premium version of plugin offers caching feature, so that your blog doesn’t slow down. This is a paid plugin and cost about $149 but worth every penny of yours.
This plugin is interesting as it adds Facebook style mentions to quickly add internal links in your blog post. This is a plug and play plugin to add internal links to your blog post. I just tested it and loved it instantly. By default this plugin suggest from posts only, you can configure it to show suggestions from your pages or other custom post type.
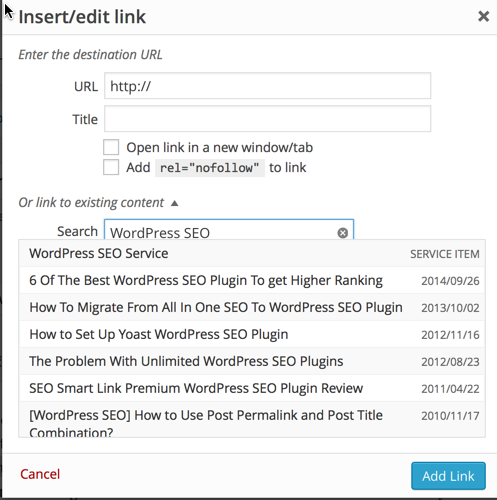
WordPress also offers default feature to let you quickly interlink your blog post. When ever you select and text and click on Hyperlink to add a link, you can search for your published post from there and link it directly with anchor text. This is a default feature of WordPress and it’s useful.
Update: Yoast SEO premium can also be used to improve internal linking. However, it’s not automated but worth looking at.
Conclusion: Which is best plugin for Blog posts interlinking?
I use SEO smart link and Yoast SEO Pro for ShoutMeLoud. Mentionable is a new plugin and it looks promising, since ShoutMeLoud has more than 2.5K+ posts, I haven’d tried. For blogs with fewer posts, Mentionable could be a real life saver.
There are few more plugins that are available, but these are best 4 solutions which you can use for WordPress interlinking. Do let me know what strategy you are following for blog posts interlinking?
Don’t forget to share this guide with other bloggers, as it would help them to understand the importance of interlinking and how to do it.
Like this post? Share it with your friends!
Here are hand-picked articles for you to read next: